skip to main |
skip to sidebar
March Stamp Club Card
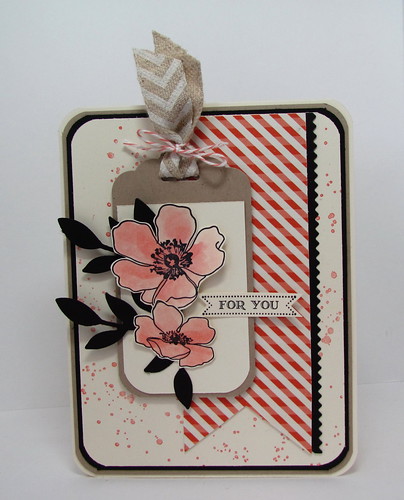
Our second card we made at our March stamp club workshop used the same layout as THIS CARD. Same design but completely different look. We used the Longer Banner with Framelit Technique on this card as well.
I love that Natural Chevron ribbon! I might just have to hoard it. :)
Supplies:
Stamps: Fabulous Florets, Itty Bitty Banners, Gorgeous Grunge
Paper: Very Vanilla, Crumb Cake, Basic Black, Retro Fresh DSP
Ink: Calypso Coral, Black Stazon
Accessories: Aquapainter, Dimensionals, Little Leaves Sizzlets, Glue Dots, Scalloped Tag Topper Punch, Corner Rounder Punch, Finishing Touches Edgelit Die, Banner Die, Calypso Coral Baker's Twine, Natural Chevron Ribbon
Thanks for stopping by.
Andrea
March Stamp Club Cards
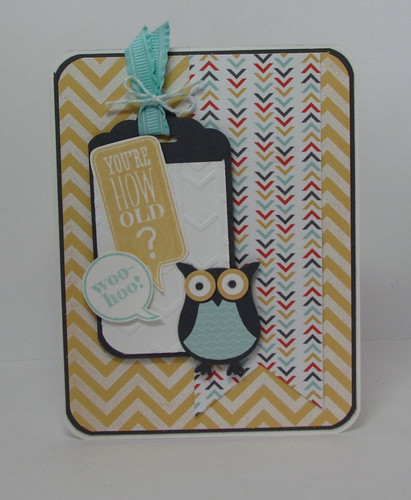
Here is one of the cards we made at our March stamp club workshop. It's a fairly straight forward card and you can probably figure it out by looking at the supply list. :)
One instructional detail that should be noted is that we made the banner longer than the actual die. Here is how to make a Longer Banner with Framelits:
1. Cut the patterned paper (or card stock of your choice) the same width as your banner die
2. Place the patterned paper so that the bottom of the die (the flags) will cut your paper and the top is pulled through so it is laying on top of the die.
3. At the top of the banner die, place a thicker piece of card stock between the top of the die and the bottom of the patterned paper to create a sandwich. (This will prevent an embossed line from occurring on your patterned paper... or at least it will be very slight.)
4. Place a sticky note on die and paper to keep in place.
5. Run through BigShot.
Supplies:
Stamps: Just Sayin', Chevron Background
Paper: Whisper White, Basic Grey, So Saffron, I Am Me DSP
Ink: So Saffron, Pool Party, Whisper White
Accessories: Scalloped Tag Topper Punch, Owl Punch, Corner Rounder Punch, Banner Dies, Arrow Embossing Folder, Pool Party Ribbon, Pool Party Baker's Twine, Tw0-way Glue Pen, Dimensionals, White Embossing Powder
Thanks for stopping by.
Andrea
February Stamp Club Card
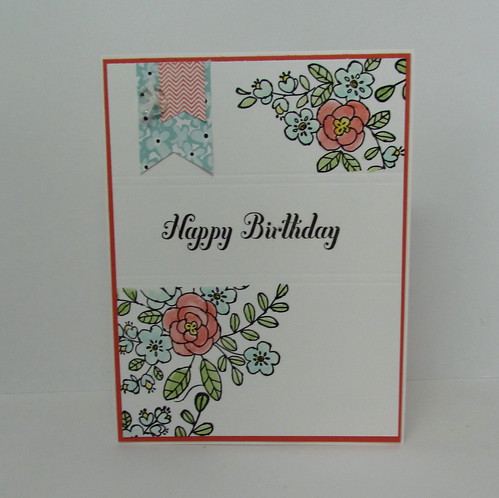
Bordered Sentiment Technique: You can find a TUTORIAL at Splitcoaststampers.
Supplies:
Stamps: Bring On the Cake, So Very Grateful, Banner Blast
Paper: Whisper White, Calypso Coral, Sweet Sorbet DSP
Ink: Calypso Coral, Pool Party, Wild Wasabi, Stazon Black Ink
Accessories: Aquapainter, Scoring Tool, Banner Punch, White Baker's Twine, Clear Itty Bitty Button
Thanks for stopping by.
Andrea
February Stamp Club Card
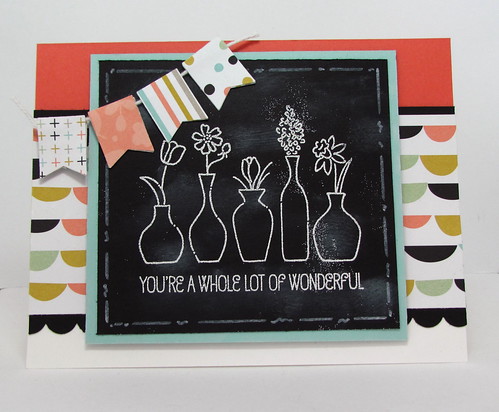
Chalkboard Technique: I followed THIS TUTORIAL from Splitcoaststampers.
Supplies:
Stamps: Vivid Vases
Paper: Whisper White, Calypso Coral, Pool Party, Basic Black, Sweet Sorbet DSP
Ink: Whisper White
Accessories: White Chalk Marker, Banner Punch, White Embossing Powder, Scalloped Border Punch, Sponge Dauber
Thanks for stopping by.
Andrea

January Stamp Club Card
I was inspired by THIS CARD. It is very simple to make but takes some time.
Just a couple of instructions in making this card:
I used glue (white glue or the two-way glue pen) to adhere the hexagon onto a piece of card stock that is 1/8" smaller than the Soft Suede card stock.
Sponge daube all edges of the hexagons. Once adhered to the card stock, sponge daube around all four sides of main image.
Supplies:
Stamps: Six Sided Sampler, Bring On the Cake
Paper: Very Vanilla, Midnight Muse, Soft Suede
Ink: Midnight Muse, Soft Suede, Wild Wasabi
Accessories: Sponge Dauber, White Glue, Dimensionals, Midnight Muse Ribbon, Candy Dot, Hexagon Punch
Thanks for stopping by.
Andrea
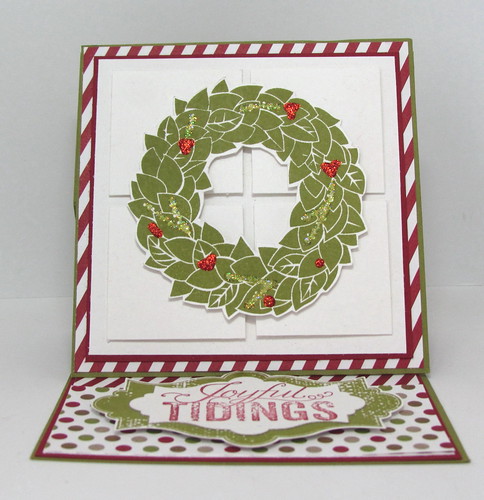
November Stamp Club Card
This card uses the Easel Technique.
Supplies:
Stamps: Everything Eleanor, Wonderful Wreath, Christmas Messages
Paper: Old Olive, Cherry Cobbler, Whisper White, DSP
Ink: Old Olive, Cherry Cobbler
Accessories: Dimensionals, Dazzling Details Glitter Glue (Cherry Cobbler and Silver)
Thanks for stopping by.
Andrea
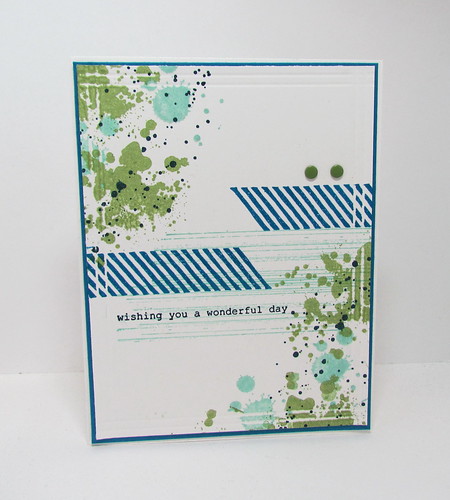
October Stamp Club card
A quick, easy and fun card to make.
Note that two lines were scored on all four sides of the card. Thought I would point that out since it could easily be missed.
Supplies:
Stamps: Gorgeous Grunge, Bring on the Cake,
Paper: Whisper White, Pacific Point
Ink: Pacific Point, Wild Wasabi, Pool Party, Midnight Muse
Accessories: Scoring Tool, Candy Dots (Subtles - Wild Wasabi)
I saw the below card on the My Creations Blog. I had to CASE it. For stamp club I just switched up the colours to make it more masculine.
Thanks for stopping by.


+of+IMG_8260.jpg)

